Set Up Workspace – Tutorial
In this tutorial, you’ll learn how to create and configure your first workspace.
To follow along, we’ve provided a demo GitHub repository and registered a sample dataset in the NDP Catalog.
Setup Instructions
1 - On the left panel, click My NDP Hub and select New Workspace.
2 - Complete the workspace form. Since this is a demo, feel free to use the sample text provided in the README.md of the tutorial repository.
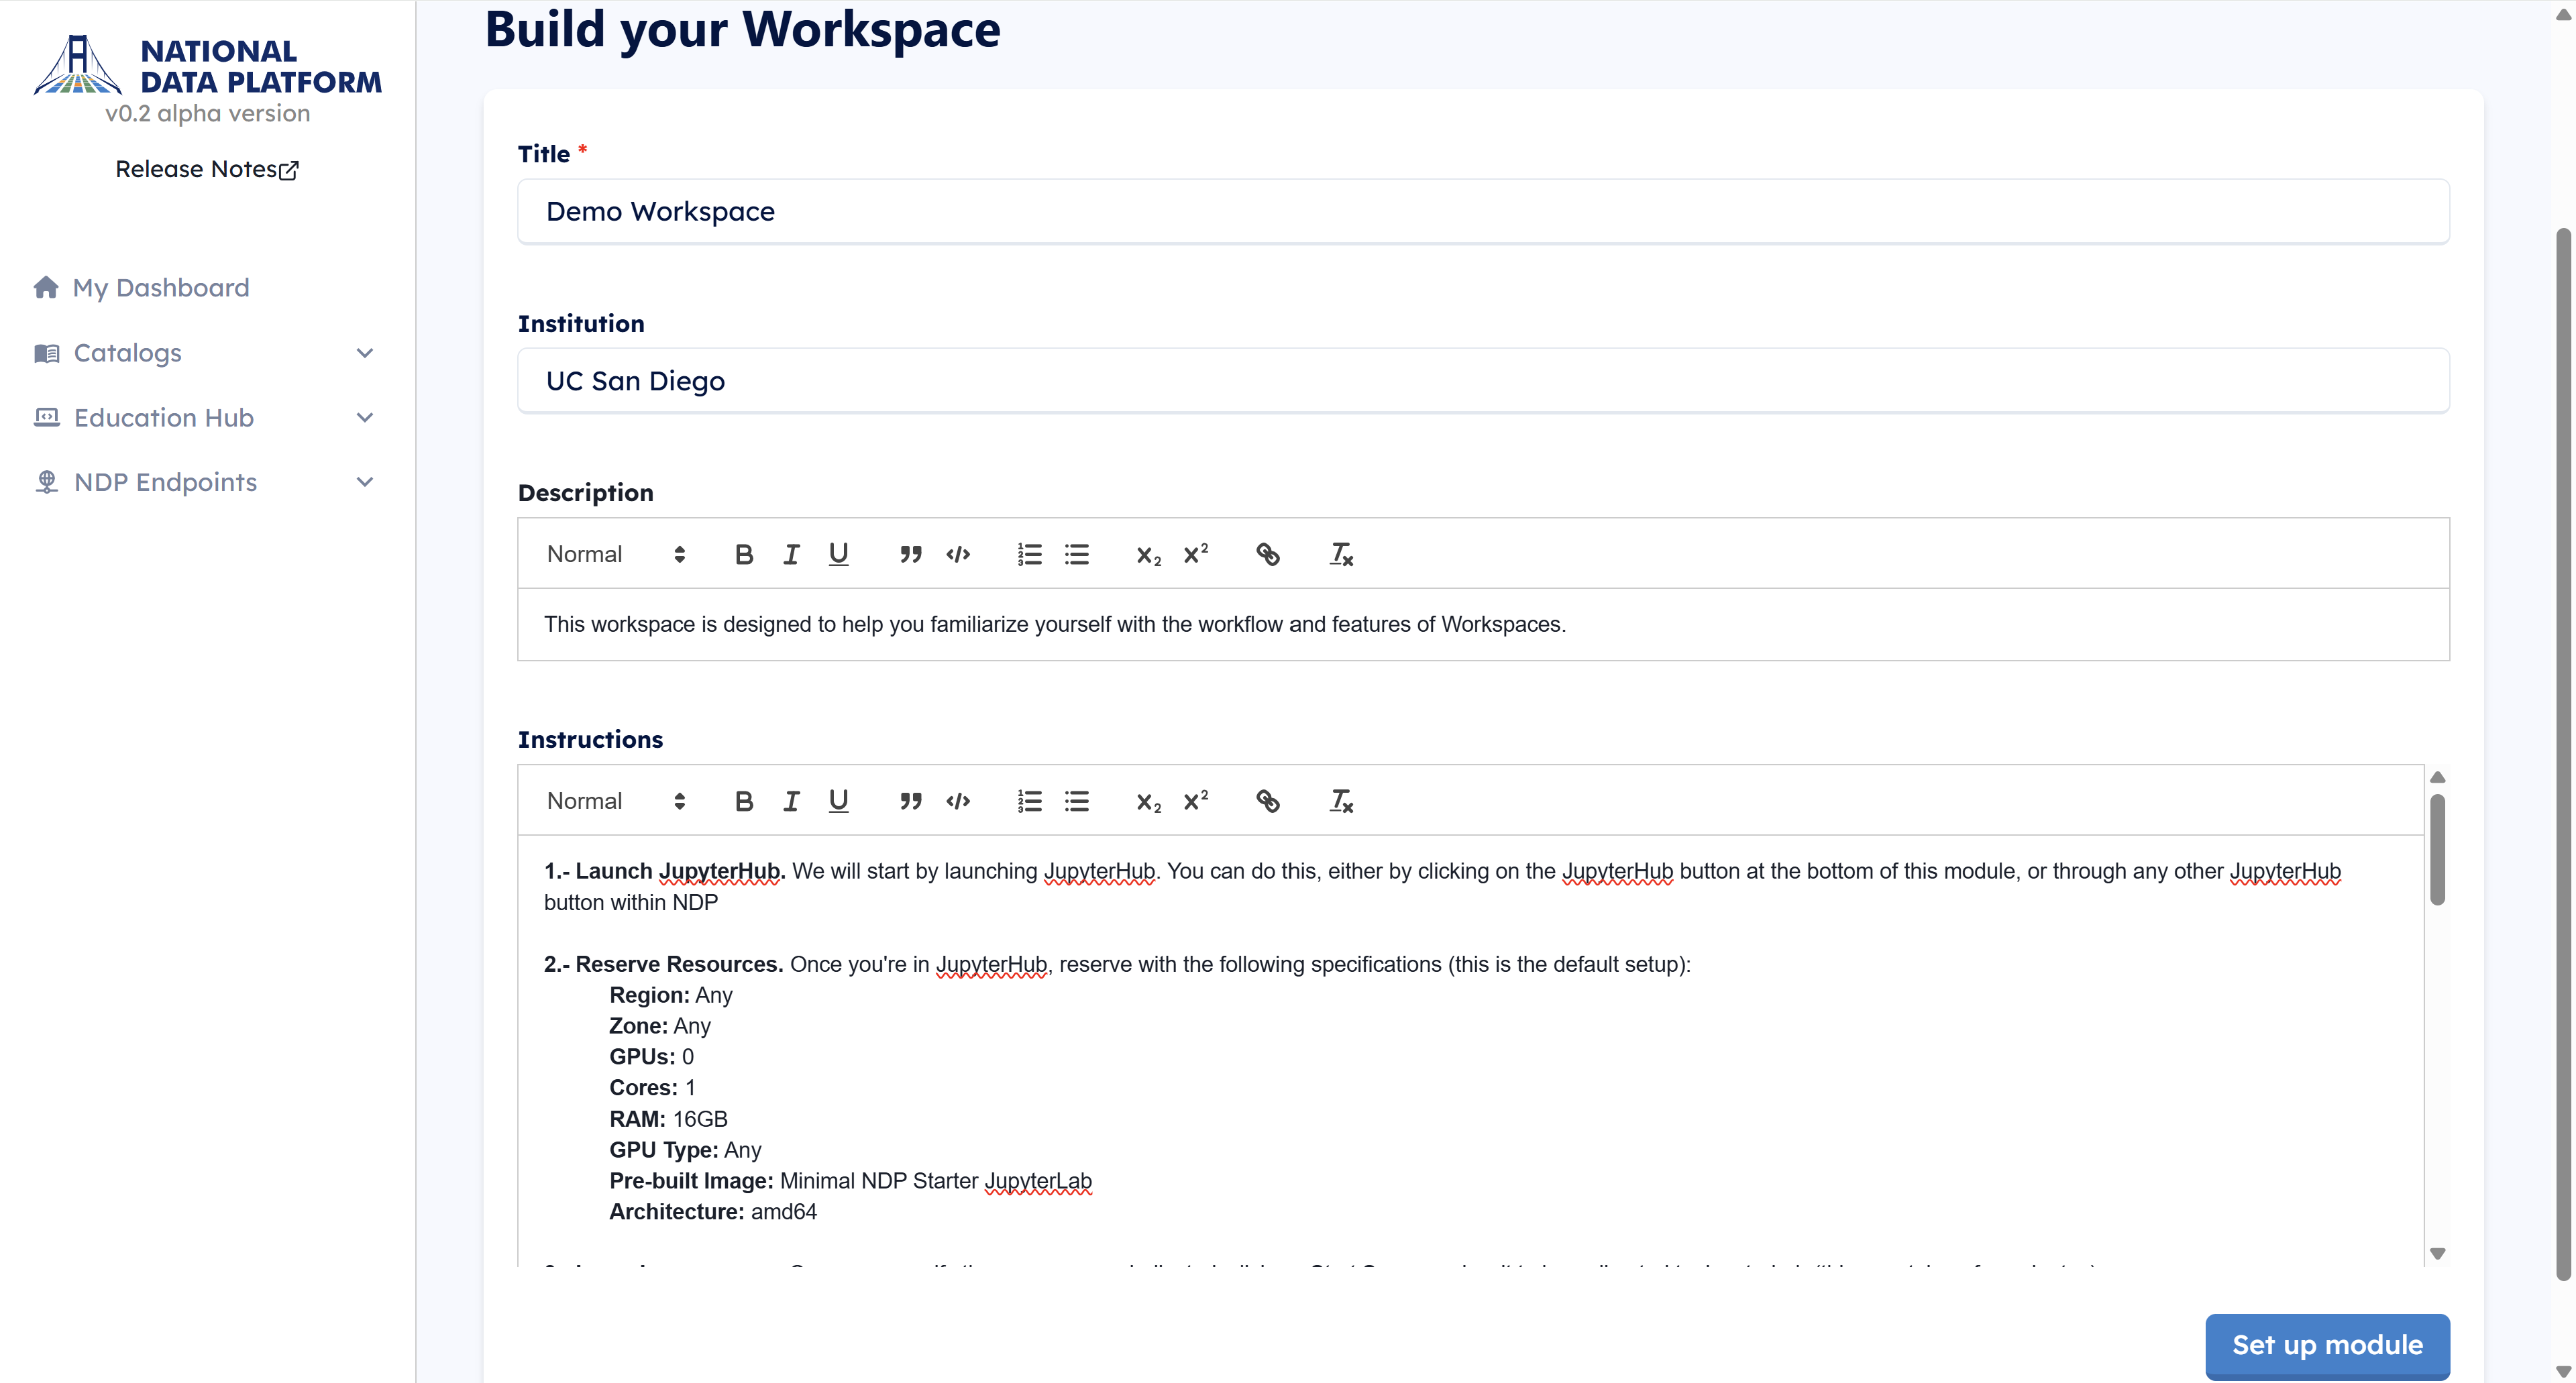
3 - Click Save Workspace to proceed.
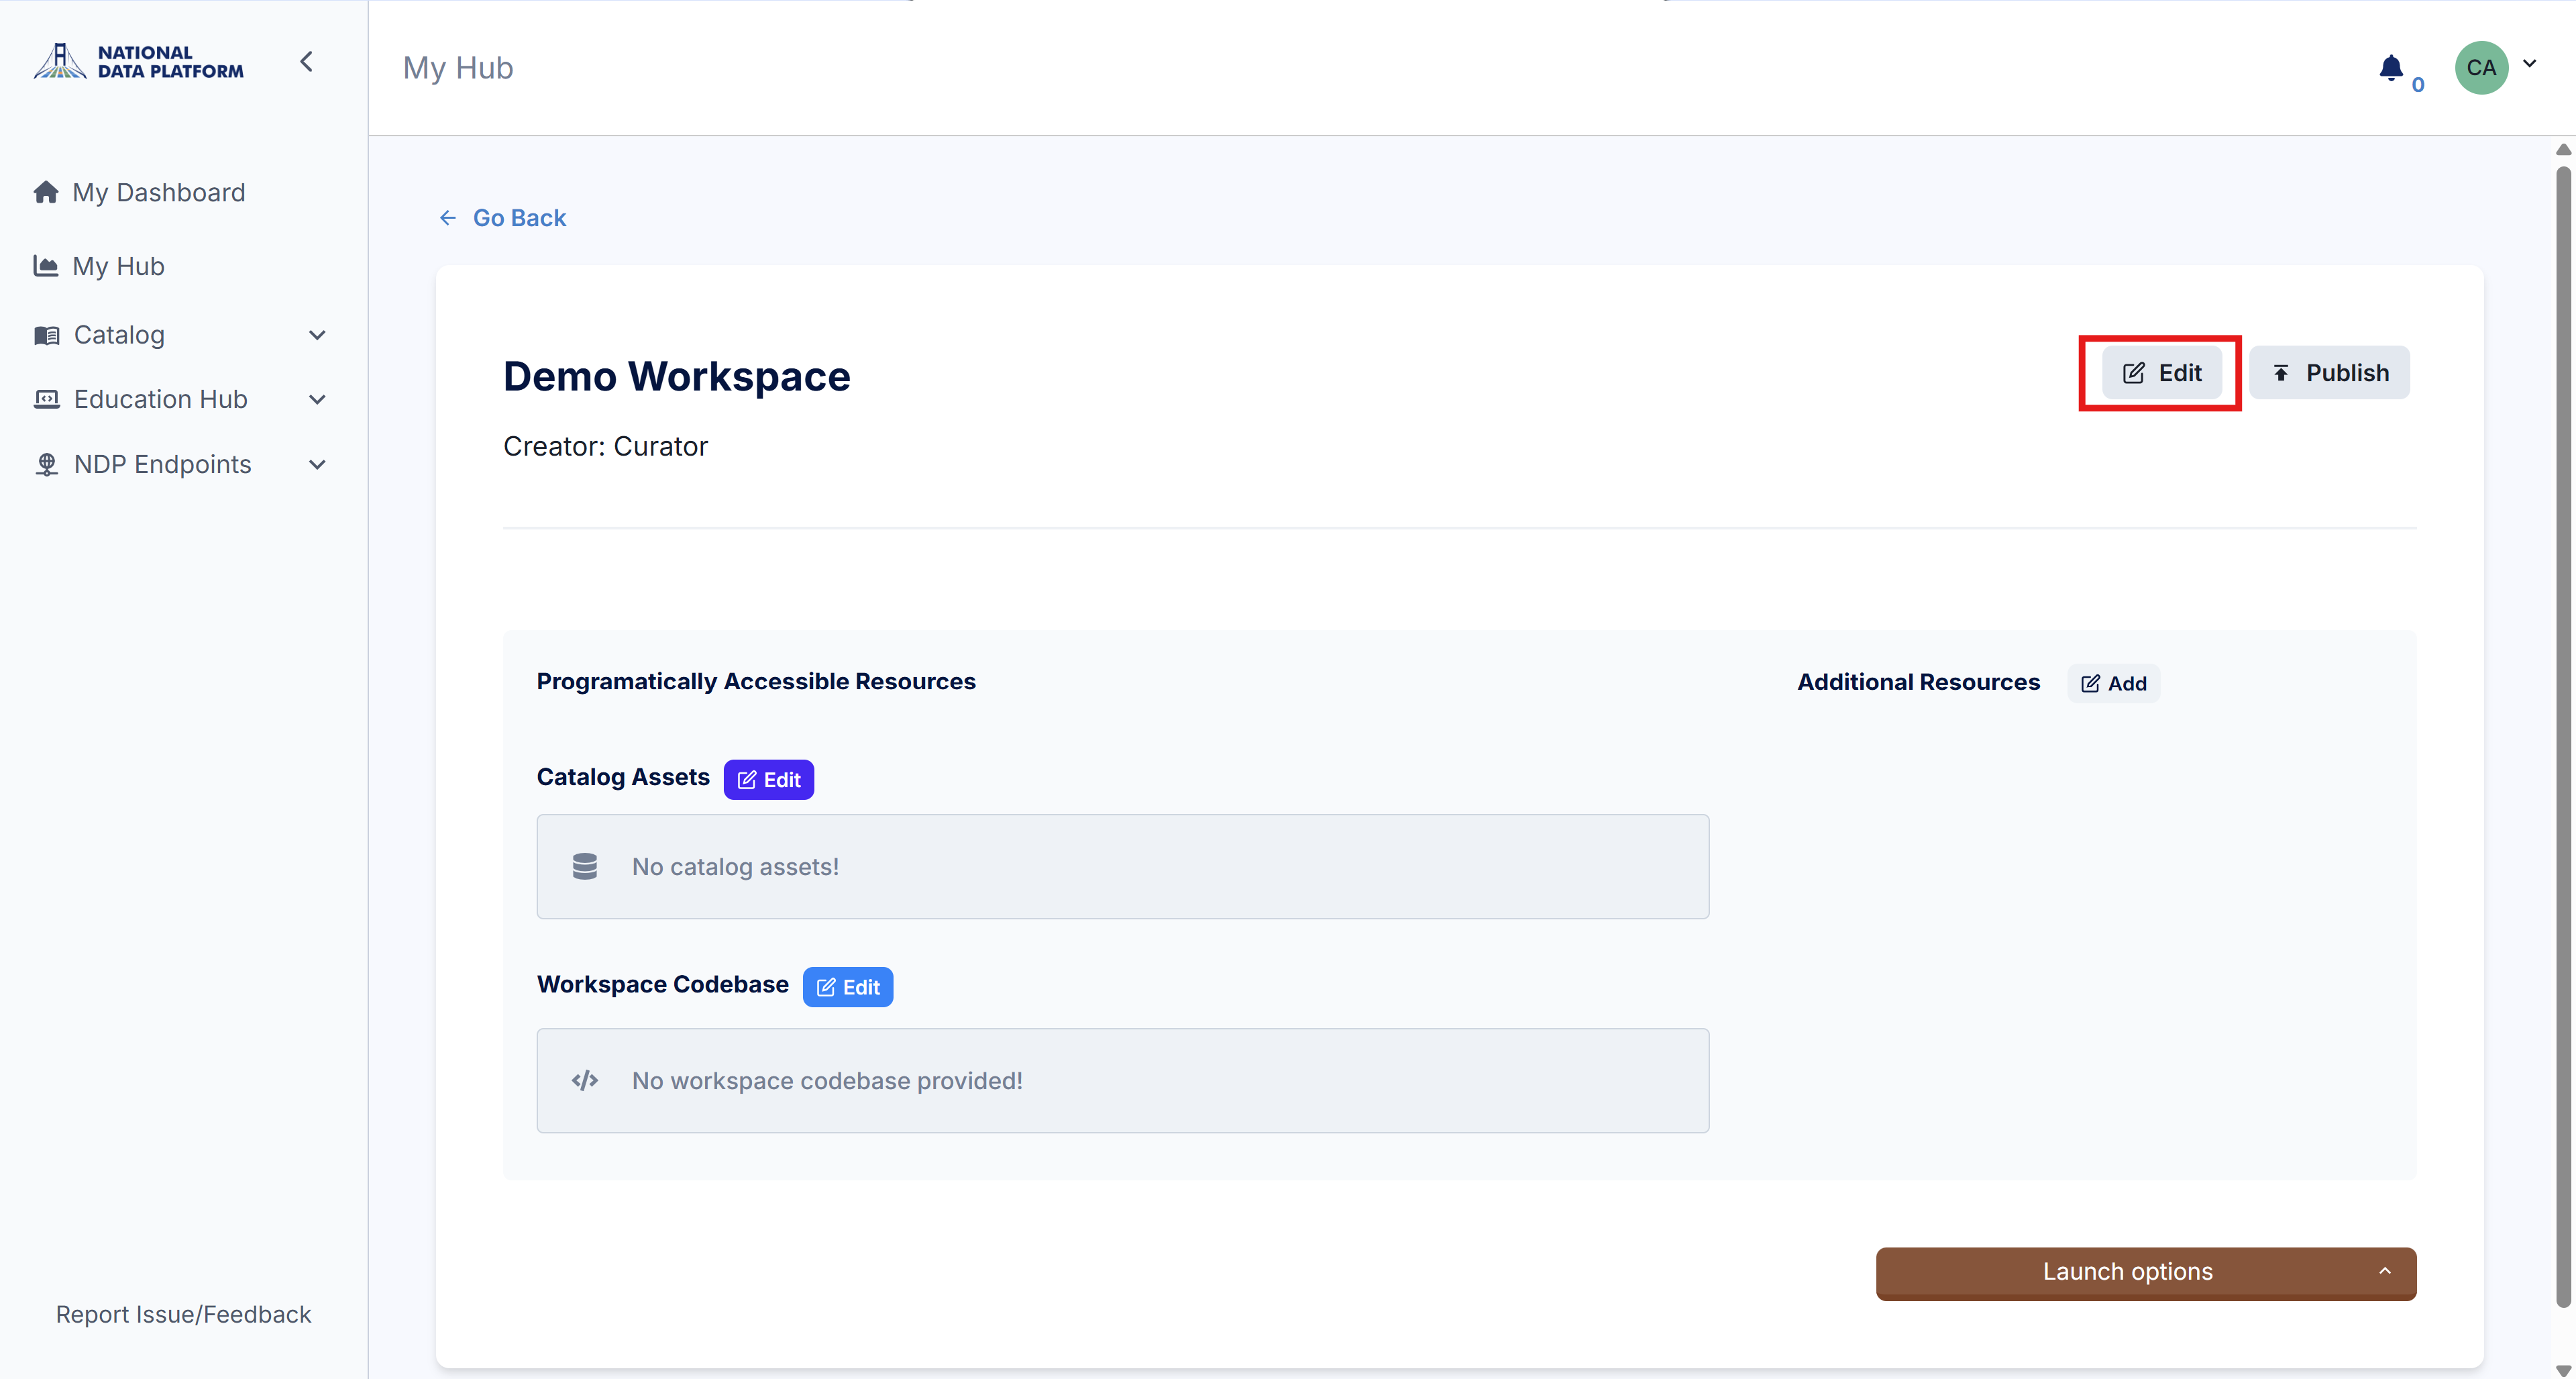
4 - If you need to edit the metadata of your workspace at any point, you can do so by clicking the Edit button in the top right corner.
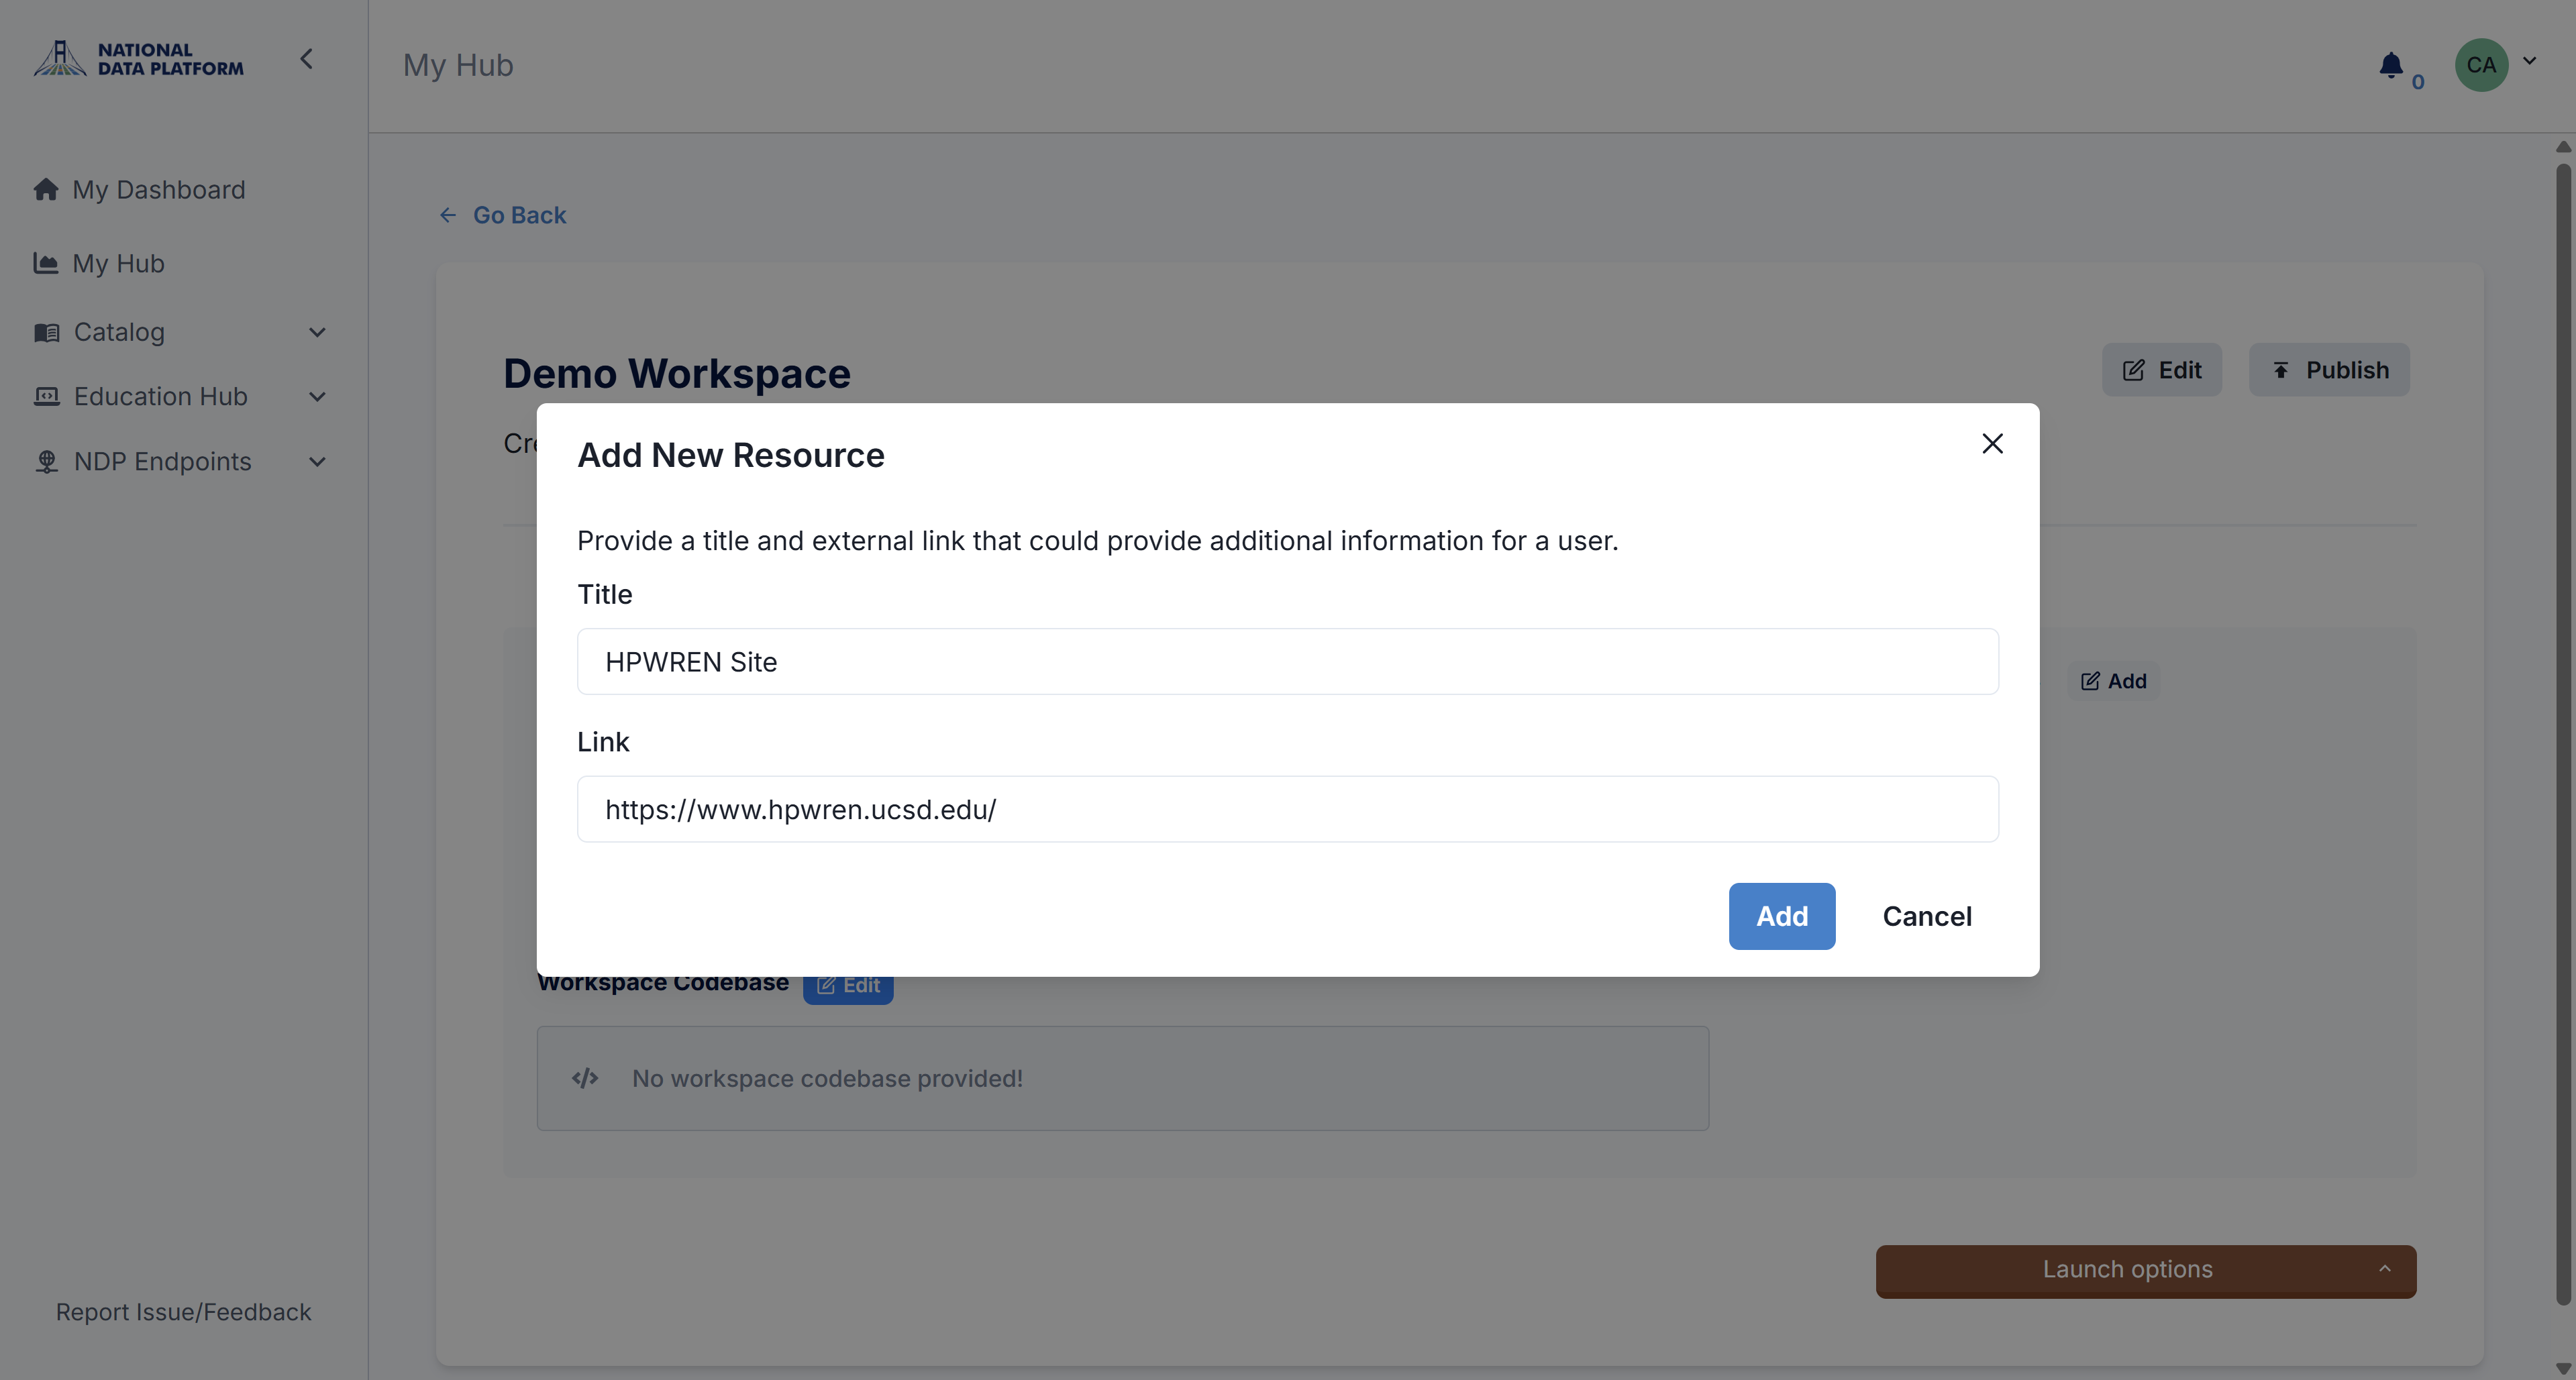
5 - Under Additional Resources, click Add. Type the title HPWREN Site and add the following link: https://www.hpwren.ucsd.edu/. Click Add to add the link as an additional resource.
6 - Click the Edit button next to Catalog Assets. This will open a dataset search window.
7 - Search for HPWREN Weather, then click Add next to the HPWREN Weather Station Measurements dataset. Close the window once it's added.
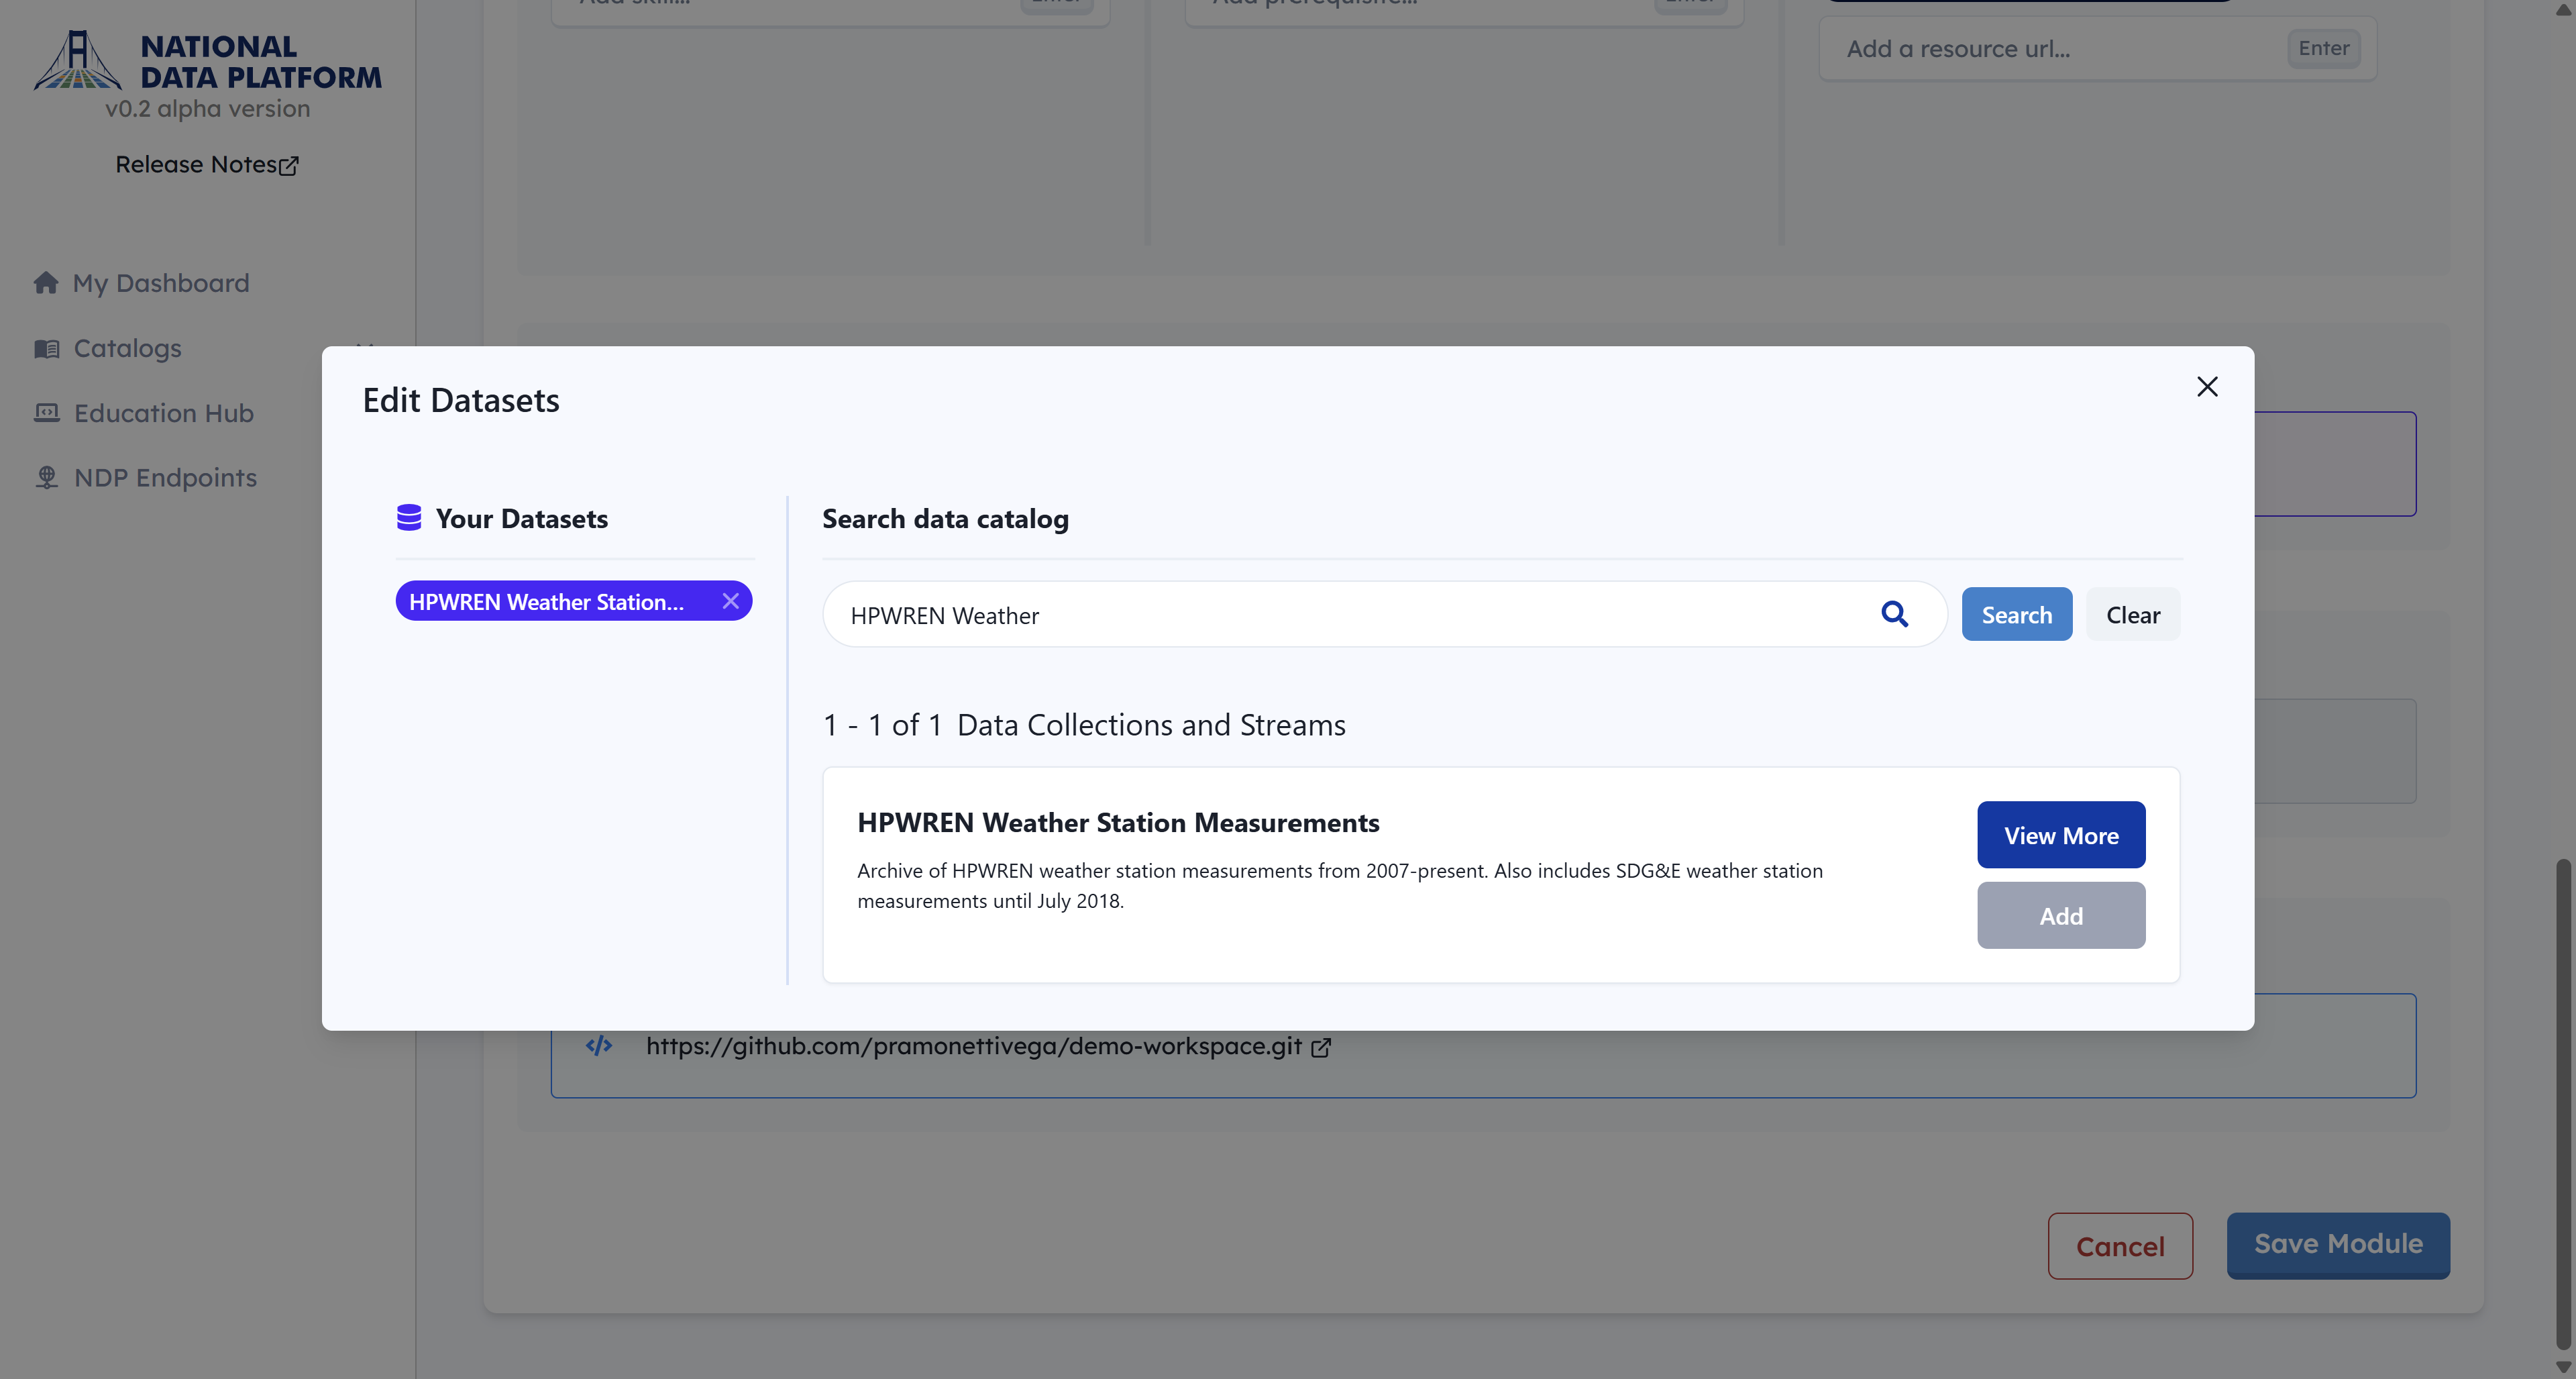
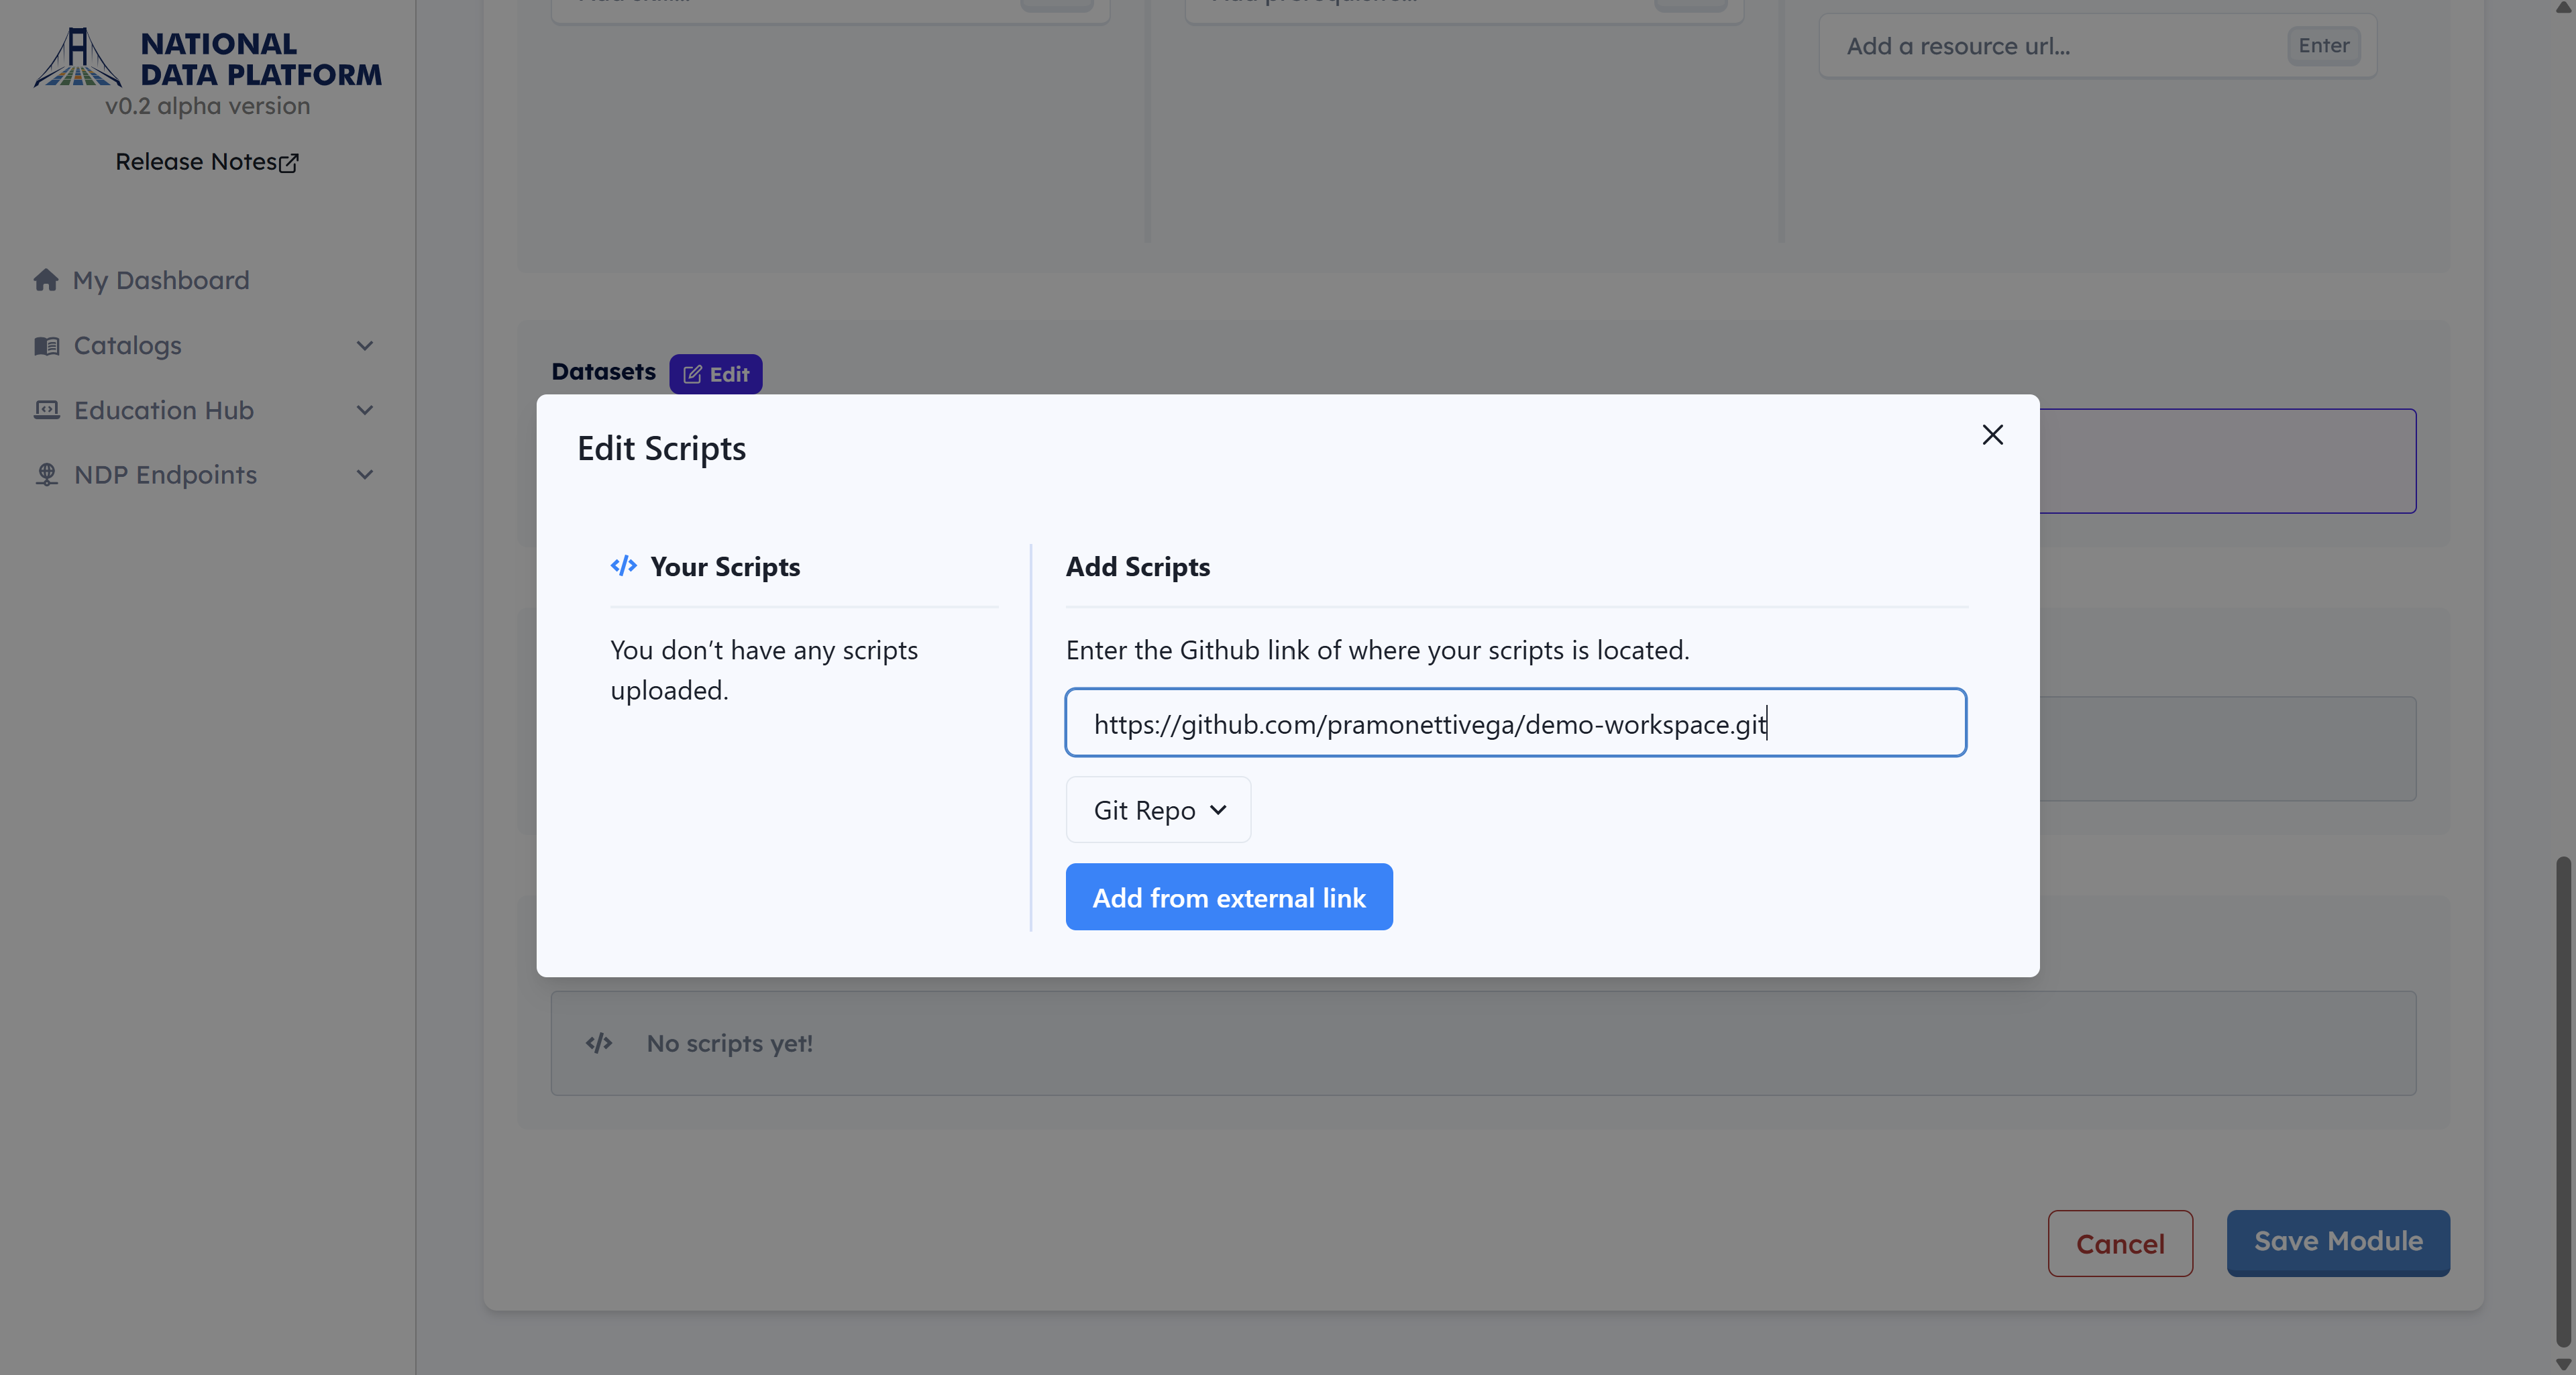
9 - Click the Edit button next to Workspace Codebase. Paste the demo GitHub repository URL: https://github.com/pramonettivega/demo-workspace.git. Then click Add from external link. Close the window once the repository is added.
We have finished setting up our first workspace. Now, we will run it using the JupyterHub service. Proceed to the next tutorial: Working with a Workspace.